Personalised Tote Bags: How to Design Your Own
Creating your own DIY tote bags is a fun and practical way to express your style while making something functional. Whether you’re looking for a unique accessory, a thoughtful gift, or an eco-friendly alternative to plastic bags, designing a personalised tote bag allows you to showcase your creativity. From custom handbag ideas to fabric painting for bags, there are endless ways to transform a simple tote into a stylish statement piece.
In this guide, we’ll explore different design techniques, step-by-step instructions, and inspiration to help you craft your perfect tote bag. Whether you prefer hand-painted artwork, stencilled designs, or fabric embellishments, you’ll find the perfect method to create a tote bag that reflects your personality.
Why Make Your Own Tote Bag?

Before diving into the crafting process, here’s why making DIY tote bags is a great idea:
- Eco-Friendly – Reduce plastic waste by creating reusable bags for shopping, work, or travel.
- Cost-Effective – Making your own tote is often more affordable than buying designer handbags.
- Completely Customisable – Choose colours, patterns, and designs that match your personal style.
- Thoughtful Gift Idea – A personalised tote makes a fantastic handmade gift for friends and family.
- Fun and Creative – Crafting your own tote bag is an enjoyable activity for all skill levels.
Materials You’ll Need
To create custom handbag ideas, gather the following materials:
Basic Supplies:
- Plain canvas tote bag
- Fabric paint or acrylic paint mixed with a textile medium
- Fabric markers or permanent markers
- Paintbrushes and sponges
- Stencils or masking tape for precise designs
- Iron-on transfers or patches
- Embroidery floss and needle (for embroidered designs)
- Fabric glue or a hot glue gun
- Decorative elements such as buttons, sequins, or beads
With these materials ready, let’s explore different techniques for decorating your tote bag.
Method 1: Fabric Painting for Bags

Fabric painting for bags is one of the easiest and most creative ways to personalise a tote. You can go for freehand designs, geometric patterns, or even text-based art.
Steps:
- Prepare your tote bag – Wash and dry the bag to remove any residues that might interfere with the paint.
- Place cardboard inside the bag – This prevents paint from bleeding through.
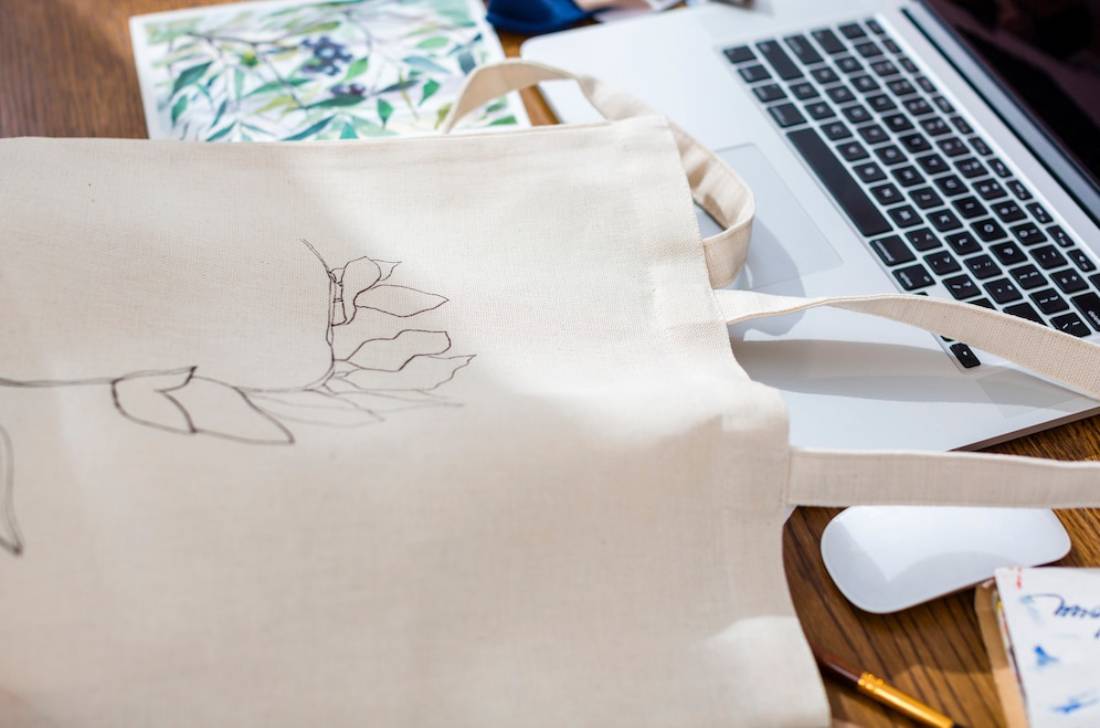
- Sketch your design lightly with a pencil.
- Use stencils or masking tape to create clean shapes and lines.
- Apply fabric paint with a brush or sponge – Layer the colours carefully and let them dry between coats.
- Let the design dry for at least 24 hours before using.
- Set the paint with an iron – Place a cloth over the design and iron it on medium heat for a few minutes to ensure durability.
Design Ideas:
- Abstract brush strokes
- Floral patterns
- Inspirational quotes or names
- Animal prints
Method 2: Stencilling for Precise Designs
If freehand painting feels intimidating, stencilling is a great alternative for neat and stylish designs.
Steps:
- Choose or create a stencil – You can buy pre-made stencils or cut your own from plastic sheets.
- Secure the stencil onto the bag with masking tape.
- Apply fabric paint using a sponge or brush – Dab the paint onto the stencil without smudging.
- Carefully lift the stencil off and allow the paint to dry completely.
- Heat-set the design by ironing over a protective cloth.
Stencil Ideas:
- Leaf patterns for a boho style
- Monogram initials
- City skylines or famous landmarks
Method 3: Iron-On Transfers and Patches
Iron-on transfers and fabric patches are great for quick and professional-looking designs.
Steps:
- Choose an iron-on transfer or printable fabric sheet.
- Print your design using a custom printable sheet.
- Cut out the design and position it on the tote bag.
- Follow the manufacturer’s instructions to iron it onto the fabric.
- Peel off the backing carefully and allow it to set.
This method is great for adding logos, images, or graphic prints to your tote bag with minimal effort.
Method 4: Embroidered Tote Bags

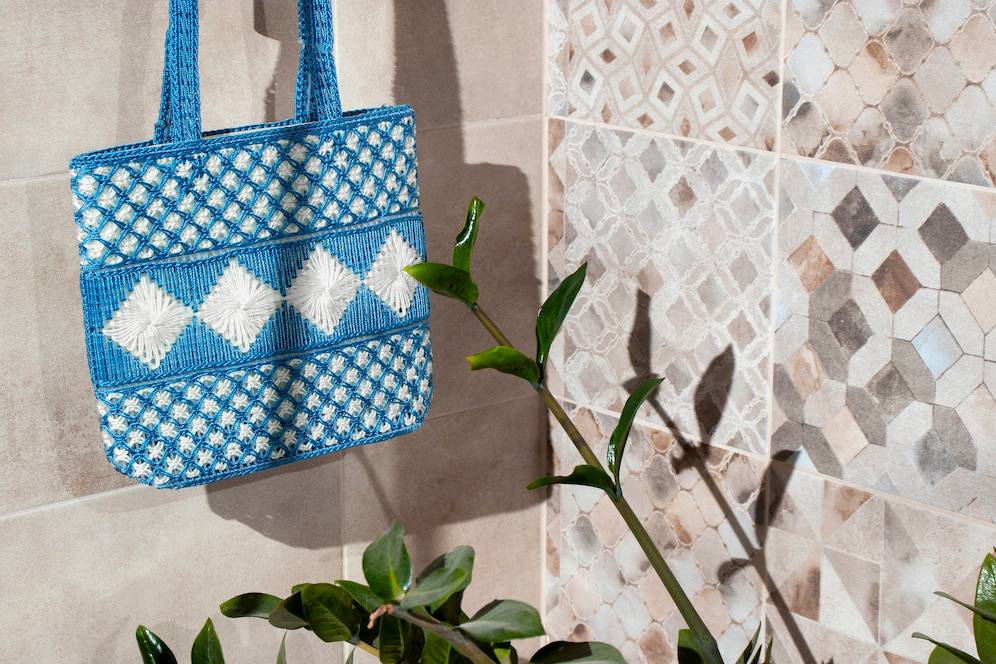
For a stylish and textured look, try hand embroidery to customise your tote bag.
Steps:
- Sketch your design lightly onto the fabric with a pencil.
- Thread your needle with embroidery floss in a colour of your choice.
- Use simple stitches like backstitch, satin stitch, or French knots to fill in your design.
- Knot the ends securely to prevent unraveling.
- Enjoy your stylish, handmade embroidered tote bag!
Embroidery Ideas:
- Floral patterns
- Initials or names
- Minimalist line art
Method 5: Adding Decorative Elements
For a truly unique DIY tote bag, embellishments can take your design to the next level.
Steps:
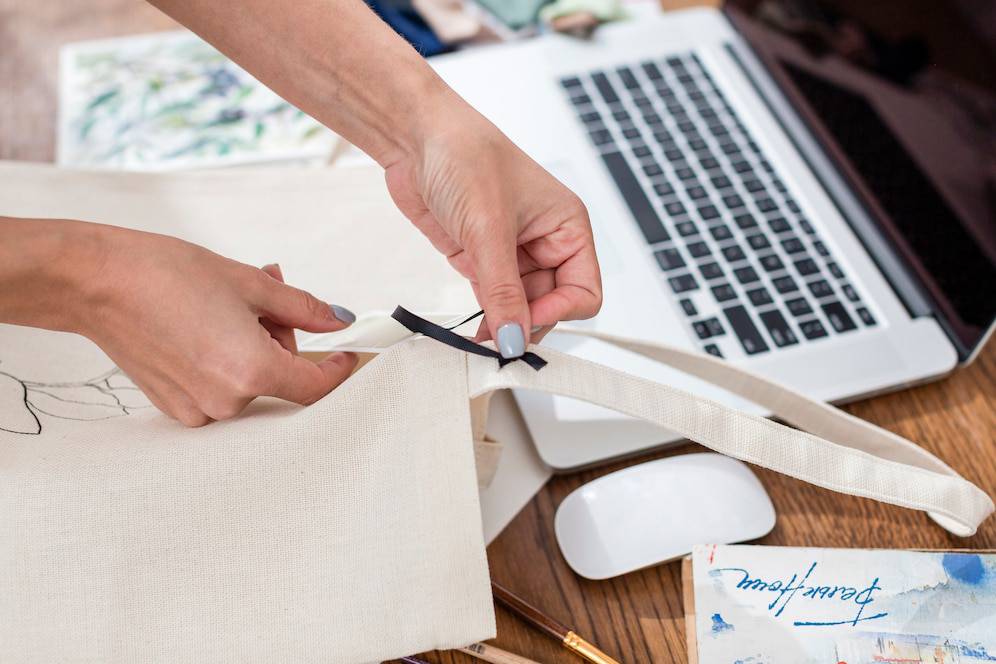
- Arrange buttons, sequins, or beads on the tote bag.
- Use fabric glue or sew them on for a secure hold.
- Layer different textures like lace or ribbon to add depth.
- Let everything dry properly before using the bag.
Embellishment Ideas:
- Bohemian-style fringe
- Rhinestone patterns
- Layered fabric appliqués
Care Tips for Handmade Tote Bags
To ensure your custom tote bag lasts a long time, follow these care tips:
- Hand wash only or use a gentle cycle in cold water.
- Avoid harsh detergents that might fade the paint or embroidery.
- Iron carefully on the reverse side to avoid damaging designs.
- Store in a dry place to prevent mildew or fading.
Create Your Own Stylish and Personalized Tote Bags
Designing your own DIY tote bags is an exciting and rewarding craft that allows you to express your creativity. Whether you choose fabric painting for bags, embroidery, or stencilling, there are endless ways to personalise a tote to match your style. Plus, custom handbag ideas make wonderful gifts for loved ones and stylish alternatives to mass-produced bags.
So, gather your materials and start crafting your very own tote bag today! Looking for more creative ideas? Subscribe to our newsletter for more DIY tote bag inspiration and step-by-step tutorials.