How to Make Your Own Leather Accessories
Leather crafting is a timeless and rewarding skill that allows you to create durable and stylish accessories. Whether you’re interested in making handmade leather crafts, functional DIY leather wallets, or experimenting with different leather crafting tips, this guide will help you get started. Leather accessories, from wallets and belts to keychains and pouches, offer both practicality and elegance, making them a great hobby or even a potential business.
In this guide, we’ll explore essential tools, leather types, step-by-step project ideas, and expert techniques to help you create stunning leather accessories from scratch.
Pro Tip: Invest in high-quality leather and tools from the start. Superior materials and precise tools will enhance your craftsmanship, making your accessories look professional and last longer.
Quick Guide to Making Leather Accessories
- Gather Essential Tools – Utility knife, awl, waxed thread, leather needles, hole punch, and edge burnisher.
- Choose the Right Leather – Full-grain or top-grain leather for durability, vegetable-tanned for tooling.
- Cut and Prepare Leather – Measure carefully, use a sharp knife, and smooth edges for a clean finish.
- Punch Holes and Stitch – Use an awl to mark holes, saddle stitch for strength, and reinforce knots with glue.
- Add Finishing Touches – Apply dye, conditioner, and protective sealant for a polished and long-lasting result.
Important Tip: Always test your design on scrap leather before working on your final piece. This helps refine your technique, avoid mistakes, and ensure the best results.
Why Try Leather Crafting?

Creating handmade leather crafts is a fulfilling hobby with many benefits:
- Customisation – Design and personalise leather pieces to match your style.
- Durability – Leather is strong, long-lasting, and ages beautifully.
- Eco-Friendly – Upcycling leather scraps reduces waste and promotes sustainability.
- Cost-Effective – Handmade leather goods can be more affordable than store-bought options.
- Gift Potential – Leather accessories make meaningful and high-quality gifts.
- Business Opportunity – Many artisans sell DIY leather wallets and accessories for profit.
- Skill Development – Learning leather crafting improves hand-eye coordination and attention to detail.
- Therapeutic Benefits – The process of cutting, stitching, and finishing leather can be relaxing and rewarding.
Essential Tools for Leather Crafting
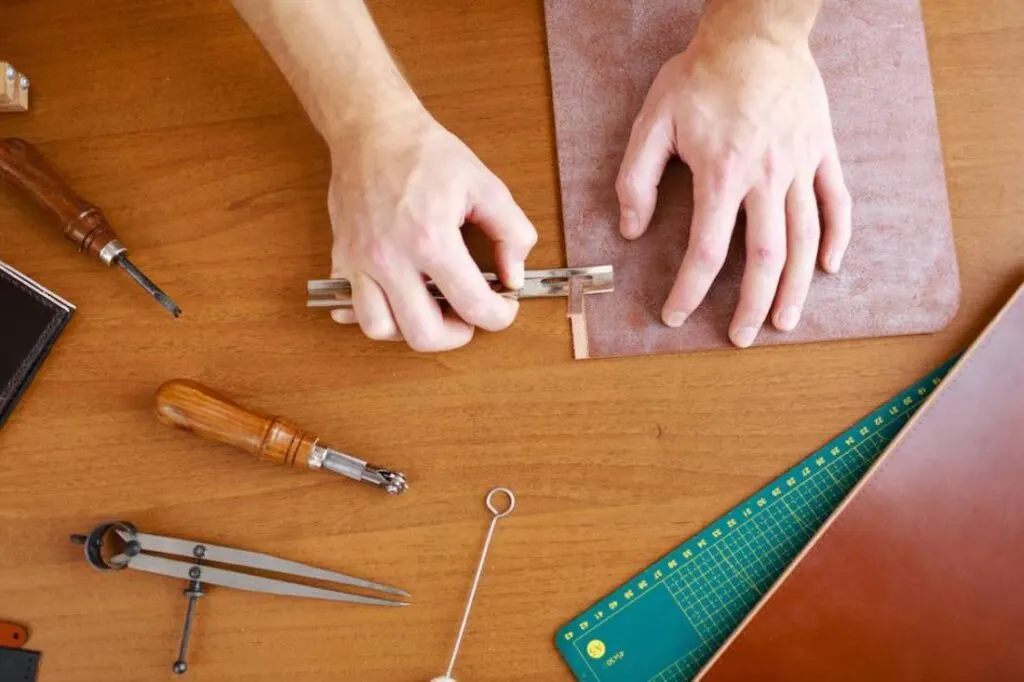
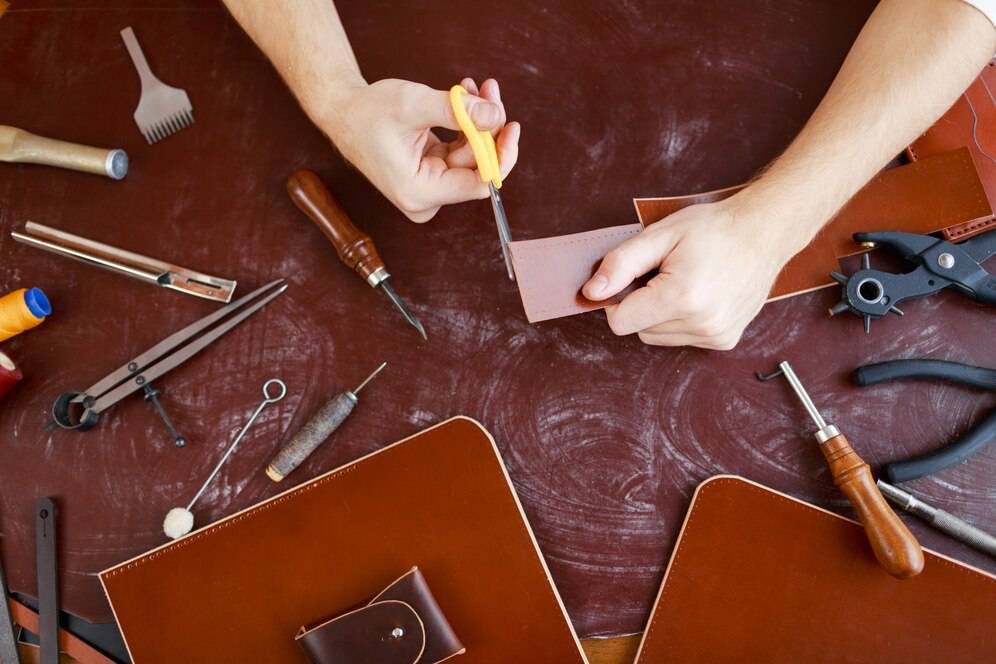
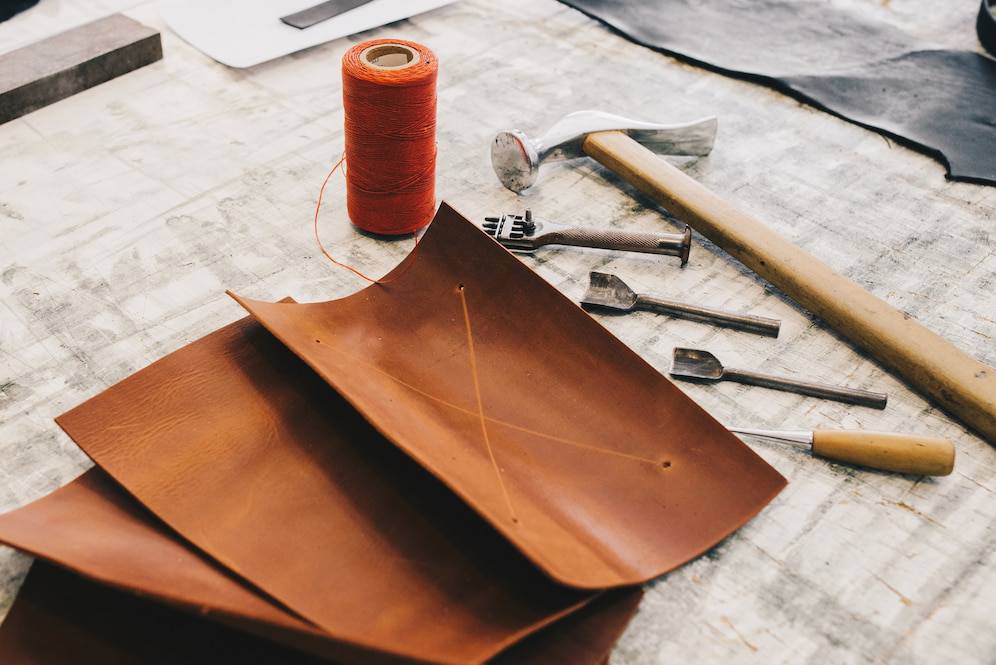
Before you begin, gather the following tools:
Basic Leatherworking Tools:
- Cutting tools (sharp utility knife or rotary cutter)
- Metal ruler for precise cutting
- Leather hole punch for creating holes for stitching or rivets
- Awl to mark stitching lines and punch small holes
- Edge bevelled to smooth out rough edges
- Mallet or hammer for stamping or setting rivets
- Leather glue for reinforcing seams
- Waxed thread and leather needles for hand-stitching
- Burnishing tool to polish edges
- Stamps and embossing tools for custom designs
- Clamps or stitching pony to hold leather while sewing
- Dyes and finishes for colouring and sealing leather
Choosing the Right Leather
Selecting the right type of leather is key to creating high-quality handmade leather crafts. Here are the most common options:
Types of Leather:
- Full-Grain Leather – High-quality, durable, and develops a rich patina over time.
- Top-Grain Leather – Softer and more flexible, often used for wallets and bags.
- Genuine Leather – A budget-friendly option, though less durable than full-grain.
- Suede and Nubuck – Soft and velvety, best for stylish accessories.
- Vegetable-Tanned Leather – Ideal for tooling, stamping, and dyeing.
- Chrome-Tanned Leather – More flexible and available in various colours, ideal for fashion accessories.
For DIY leather wallets, full-grain or top-grain leather is recommended for durability and a premium finish.
Step-by-Step Guide to Making Leather Accessories
1. Preparing Your Workspace
- Work on a flat, sturdy surface with good lighting.
- Use a cutting mat to protect your work area.
- Keep your tools organised for easy access.
- Ensure proper ventilation when using leather dyes or sealants.
2. Measuring and Cutting Leather
- Use a metal ruler and pencil to mark measurements before cutting.
- Cut slowly and steadily using a sharp utility knife or rotary cutter.
- Smooth rough edges with an edge beveler or sandpaper.
- Test measurements with a paper template first to avoid wasting leather.
3. Punching Holes and Stitching
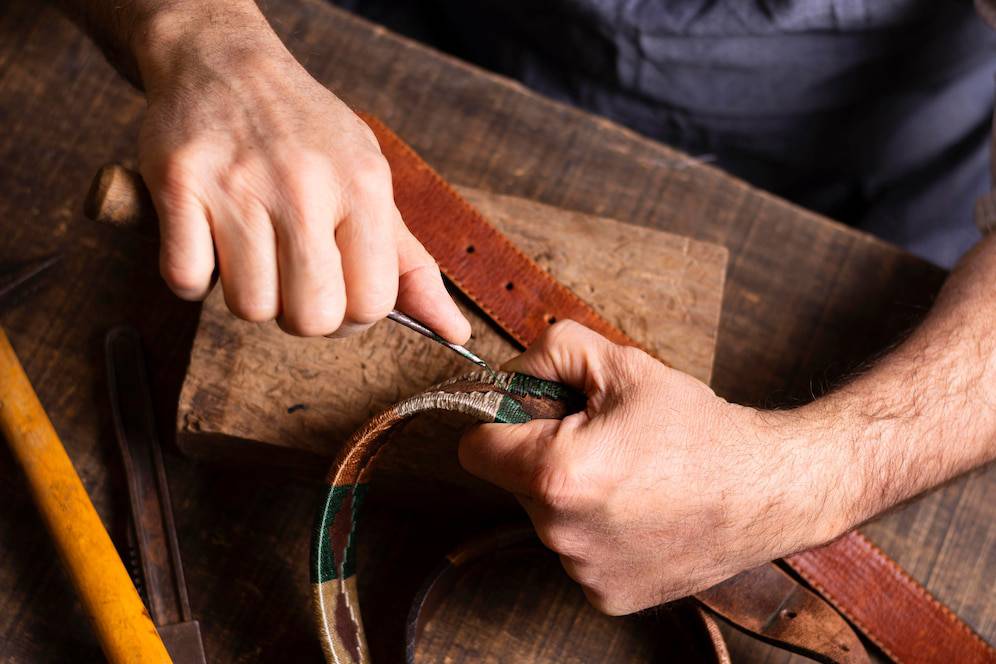
- Mark stitching holes with an awl along the edges.
- Use a leather hole punch to create evenly spaced holes.
- Thread a leather needle with waxed thread and begin saddle stitching.
- Tie off the thread securely and apply a drop of glue to reinforce stitches.
- Use a stitching pony to hold pieces in place for easier sewing.
4. Adding Hardware and Embellishments
- Attach metal snaps, rivets, or buckles using a mallet.
- Use leather stamps and embossing tools to add decorative designs.
- Burnish edges with a wooden tool for a polished finish.
- Experiment with laser engraving for intricate patterns.
5. Finishing and Conditioning
- Apply leather conditioner to keep the leather soft and prevent drying.
- Use leather dye or paint to add colour and character.
- Buff the surface with a soft cloth for a sleek, professional look.
- Apply a protective sealant to make the leather water-resistant.
DIY Leather Wallet Tutorial
Creating a DIY leather wallet is a great beginner project. Here’s a simple tutorial:
Materials Needed:
- A piece of top-grain or full-grain leather (about 8″x4″)
- Waxed thread and leather needle
- Hole punch and awl
- Metal snap or button (optional)
- Leather edge finish and burnishing tool
Steps:
- Cut the leather to your desired wallet size.
- Fold it in half and mark where you want card slots.
- Punch stitching holes along the edges.
- Saddle stitch the wallet together.
- Burnish and condition the leather for a polished finish.
- Add optional engraving or decorative stitching for personalisation.
Other Handmade Leather Craft Ideas

Once you’ve mastered the basics, try these fun and functional projects:
- Leather Keychains – Simple and stylish, great for gifts.
- Handmade Leather Bracelets – Add rivets or braiding for unique designs.
- Leather Cardholders – Sleek and minimalist, ideal for everyday use.
- Custom Leather Belts – Personalised with embossed initials or designs.
- Laptop or Tablet Sleeves – Protective and stylish for tech devices.
- Leather Notebook Covers – Perfect for journaling or sketching.
- Leather Phone Cases – Add a stylish touch to your phone with custom designs.
Advanced Leather Crafting Tips
Once you’re comfortable with handmade leather crafts, you can refine your skills with these leather crafting tips:
- Practice precision cutting – Straight edges improve the final product.
- Use a stitching pony – Helps hold the leather in place for easier sewing.
- Experiment with dyes and finishes – Customize leather with different colours.
- Layer leather pieces – Adds dimension and strength to accessories.
- Heat embossing and branding – Use heated stamps for professional-looking logos.
- Test designs on scrap leather first – Avoid mistakes on your final piece.
Selling Handmade Leather Accessories
If you want to turn your craft into a business, follow these tips:
- Develop a signature style – Unique designs set your products apart.
- Source high-quality leather – Premium materials improve product longevity.
- Take professional photos – Showcase craftsmanship with clear images.
- Sell on Etsy, Instagram, or craft fairs – Find the right audience for your work.
- Offer personalisation – Engraved initials or custom colours attract buyers.
- Price your products fairly – Consider materials, labour, and market demand.
Frequently Asked Questions
1. What is the best type of leather for beginners?
Vegetable-tanned leather is a great option for beginners as it is easy to cut, shape, and dye. Full-grain and top-grain leather are excellent choices for durable and high-quality accessories.
2. What basic tools do I need for leather crafting?
Essential tools include a utility knife, awl, waxed thread, leather needles, hole punch, edge beveler, mallet, and burnishing tool. A stitching pony can also help with hand-sewing projects.
3. How do I prevent leather from fraying or cracking?
Burnishing the edges with a wooden burnisher and applying a leather conditioner helps seal and protect the leather, preventing cracks and fraying over time.
4. Can I dye or paint leather accessories?
Yes, you can use leather dyes, acrylic paints, or leather stains to customise your accessories. Always test the colour on a scrap piece first and apply a sealant for long-lasting results.
5. Is leather crafting expensive to start?
Leather crafting can be affordable if you start with basic tools and small projects. Investing in quality materials and tools over time will improve your craftsmanship and make projects more cost-effective in the long run.
Beginner’s Guide to Leather Crafting

Leather crafting is a rewarding and practical skill that allows you to create stylish handmade leather crafts, functional DIY leather wallets, and high-quality accessories. By following these leather crafting tips, you can master the basics and gradually take on more advanced projects.
Start your first project today and experience the joy of crafting with leather! Looking for more creative inspiration? Subscribe to our newsletter for expert leather crafting tips and DIY leather wallet tutorials!