The DIY & Crafts Blog
Handmade Resin Art: How to Make Stunning Resin Pieces
Resin art is a fascinating and versatile craft that allows you to create beautiful, glossy, and durable pieces. Whether you’re making DIY resin crafts, elegant handmade resin jewellery, or experimenting with epoxy art techniques, this guide will help you get started. Resin can be used for everything from coasters and trays to jewellery and home decor, offering endless creative possibilities.
In this guide, we’ll cover the basics of resin crafting, essential materials, step-by-step instructions, advanced techniques, and expert tips to help you create stunning resin pieces with confidence.
Why Try Resin Art?
Creating DIY resin crafts is an enjoyable and rewarding hobby with many benefits:
- Customisation – Choose colours, patterns, and embellishments to make one-of-a-kind pieces.
- Versatility – Resin can be used for jewellery, home decor, and functional art pieces.
- Durability – Once cured, resin pieces are strong, glossy, and waterproof.
- Business Potential – Handmade resin art is popular for gifts and online sales.
- Creativity & Relaxation – Working with resin allows for artistic expression and can be a meditative process.
- Sustainability – Use eco-friendly resin and upcycled materials to create sustainable designs.
Essential Materials for Resin Art
Before starting, gather these essential supplies:
Basic Supplies:
- Epoxy resin and hardener (check the mixing ratio on the package)
- Silicone moulds (for jewellery, coasters, or trays)
- Measuring cups and mixing sticks
- Gloves and safety goggles (resin can be sticky and irritating to skin)
- Plastic drop sheet or disposable table cover
- Heat gun or torch (to remove bubbles)
- Pigments, dyes, or alcohol inks for colouring
- Glitter, dried flowers, gold flakes, or beads for embellishments
- Sandpaper and polishing compound for finishing touches
- UV-resistant sealant to prevent yellowing over time
Step-by-Step Guide to Making Resin Art
1. Preparing Your Workspace
- Work in a well-ventilated area to avoid inhaling fumes.
- Cover your work surface with a plastic sheet to protect against spills.
- Wear protective gloves, a mask, and safety glasses for safety.
- Have all your materials ready before mixing resin to ensure a smooth process.
- Ensure your resin and hardener are stored at room temperature to prevent curing issues.
2. Mixing the Resin
- Measure the resin and hardener accurately – Follow the recommended ratio (usually 1:1 or 2:1).
- Pour them into a mixing cup and stir slowly for 3-5 minutes to avoid air bubbles.
- Add colour pigments, glitter, or alcohol ink and mix until evenly distributed.
- Let the mixture sit for a few minutes to allow air bubbles to rise before pouring.
3. Pouring and Layering
- Pour the resin into the silicone mould or desired surface.
- Use a toothpick or stir stick to spread the resin evenly and eliminate gaps.
- If making layered designs, let each layer cure slightly before adding the next to prevent mixing.
- Add decorative elements like dried flowers, glitter, or gold flakes at this stage.
- Experiment with different pouring techniques like swirling, marbling, or embedding objects.
4. Removing Air Bubbles
- Use a heat gun or torch to remove bubbles by gently moving it over the surface.
- Tap the mould gently on the table to bring bubbles to the surface.
- Avoid over-mixing, which can introduce excess bubbles.
- To prevent excessive bubbles, warm the resin slightly before mixing.
5. Curing the Resin
- Let the resin cure for 24-48 hours in a dust-free environment.
- Cover the project with a box or container to prevent dust from settling.
- Avoid touching or moving the piece before it’s fully cured.
- Check the temperature – Resin cures best at 70°F-75°F (21°C-24°C).
6. Demolding and Finishing
- Gently remove the resin piece from the mould after curing.
- Sand rough edges using fine-grit sandpaper.
- Polish the surface with a polishing compound for extra shine.
- If needed, apply a second resin layer for added depth and gloss.
- Use a clear coat sealant for additional UV and scratch protection.
Creative Handmade Resin Jewellery Ideas
Handmade resin jewellery is a trendy and stylish craft that allows you to make unique accessories. Here are some ideas:
- Resin Pendant Necklaces – Embed flowers, leaves, or tiny charms in clear resin.
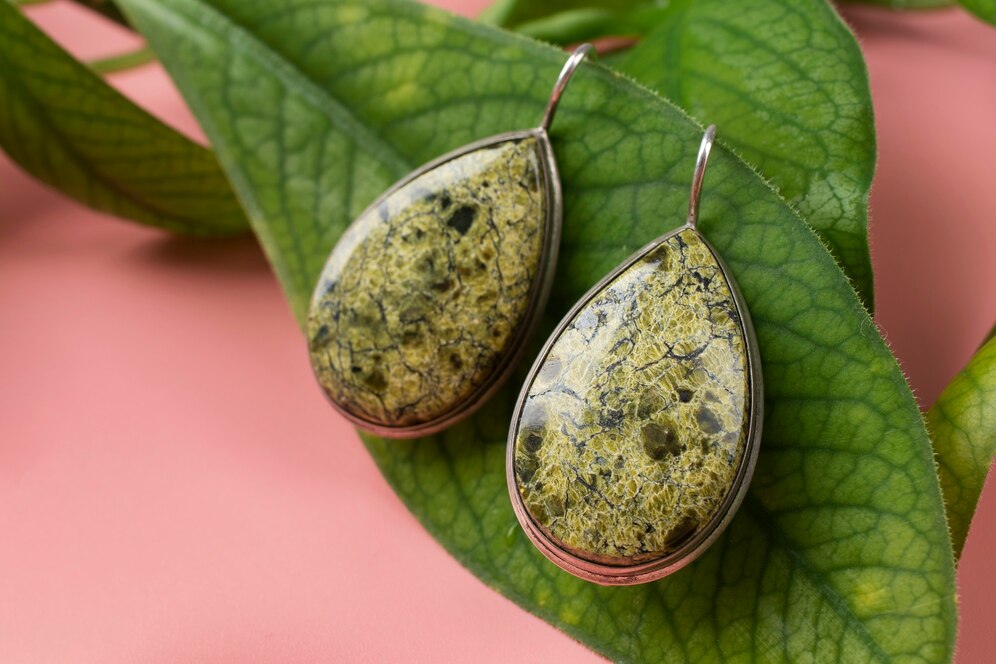
- Statement Earrings – Use colourful pigments, swirls, or marbled effects.
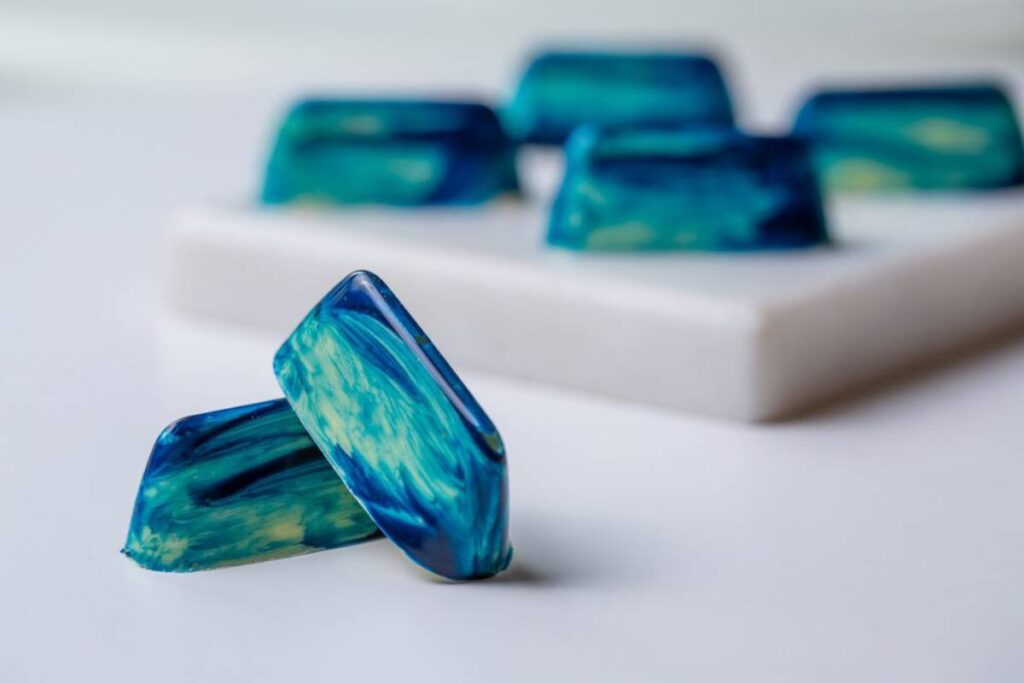
- Resin Rings – Experiment with bold colours and metallic flakes.
- Bracelets & Bangles – Create transparent bangles with gold leaf or glitter.
- Personalised Keychains – Add initials, tiny photos, or miniature objects for a personal touch.
Advanced Epoxy Art Techniques
Once you’re comfortable with basic DIY resin crafts, try these advanced epoxy art techniques:
- Geode Resin Art – Use resin, crushed glass, and metallic paints to mimic geodes.
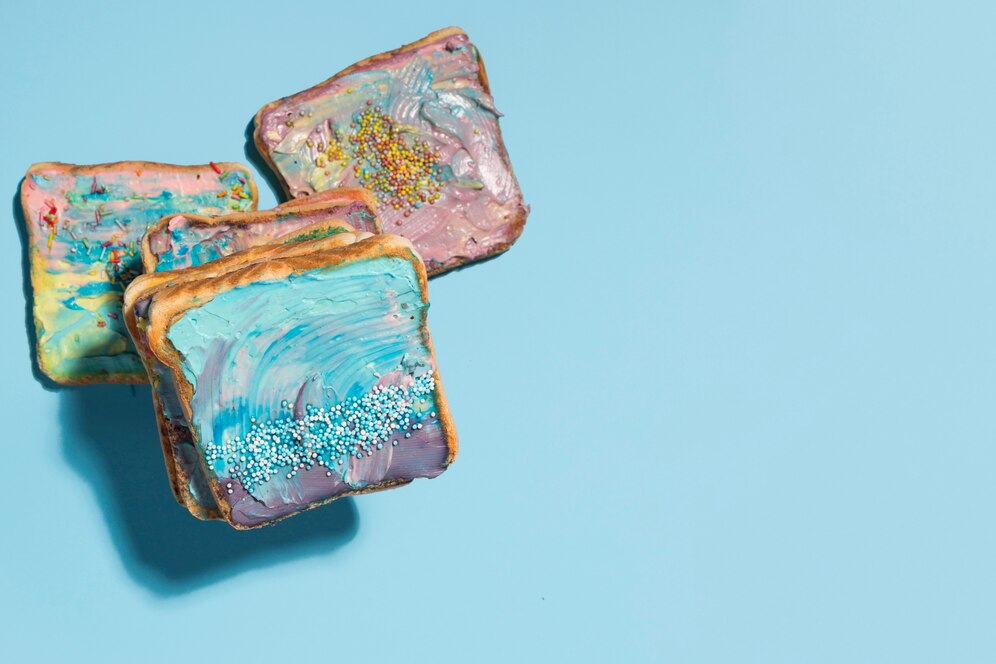
- Resin Ocean Waves – Blend blue and white resin with a heat gun for realistic waves.
- Galaxy Resin Art – Swirl dark pigments, stars, and glitter for a cosmic effect.
- Resin Wood Fusion – Combine wood and resin for furniture or serving boards.
- 3D Layering – Create depth by pouring multiple layers with embedded objects.
Troubleshooting Common Resin Issues
- Sticky or soft resin? – Check your mixing ratio and curing time.
- Too many bubbles? – Use a heat gun and stir slowly to minimize bubbles.
- Resin won’t cure? – Ensure proper temperature (resin needs at least 70°F/21°C to cure).
- Surface imperfections? – Sand and apply a fresh resin coat to smooth out flaws.
- Yellowing resin? – Use UV-resistant resin to prevent discoloration over time.
Tips for Selling Handmade Resin Art
If you want to turn your passion into a business, consider these tips:
- Develop a signature style – Create unique designs that stand out.
- Take high-quality photos – Showcase your work in good lighting.
- List on platforms like Etsy, Instagram, or craft fairs – Find the right audience.
- Price correctly – Factor in materials, time, and effort.
- Offer custom pieces – Personalisation attracts more buyers.
- Use social media marketing – Share videos and process photos to engage customers.
Caring for Resin Art Pieces
To keep handmade resin jewellery and decor looking fresh:
- Avoid prolonged sun exposure – UV light can cause yellowing.
- Clean with a soft cloth – Use mild soap and water if needed.
- Store jewellery properly – Keep pieces in a soft pouch to prevent scratches.
- Avoid extreme heat – High temperatures can soften resin.
- Apply a resin-safe polish occasionally to maintain the glossy finish.
DIY Resin Crafts, Handmade Jewellery & Epoxy Art Techniques
Resin art is a fun and versatile craft that allows you to create stunning DIY resin crafts, stylish handmade resin jewellery, and breathtaking epoxy art techniques. Whether you’re making resin coasters, jewellery, or statement decor pieces, mastering these skills will help you create long-lasting, glossy, and unique art.
Start experimenting today and bring your resin art ideas to life! Looking for more creative inspiration? Subscribe to our newsletter for more epoxy art techniques and DIY resin crafts ideas!


YOU MAY LIKE