DIY Furniture: How to Build a Simple Bookshelf
Building your own DIY wooden furniture is a great way to add a personal touch to your home while developing essential carpentry skills. Whether you’re new to woodworking or looking for an easy weekend project, constructing handmade bookshelves is an excellent beginner carpentry project that provides both functionality and style.
A bookshelf is one of the most practical furniture pieces you can create, serving as a storage solution for books, decorative items, and essentials. Unlike store-bought furniture, a DIY bookshelf allows you to customize dimensions, finishes, and designs to perfectly suit your space. In this guide, we’ll walk you through the step-by-step process of building a simple bookshelf, covering everything from material selection to assembly and finishing.
Why Build Your Own Bookshelf?

Making handmade bookshelves has many benefits:
- Custom Fit – Adjust dimensions to fit your available space.
- Budget-Friendly – Building your own furniture is often more affordable than purchasing pre-made options.
- Skill Development – A great way to practice and improve your beginner carpentry projects.
- Sustainability – Use reclaimed or eco-friendly wood to reduce waste.
- Personalised Style – Choose your preferred wood type, stain, and finish.
- Quality Control – Ensure durability by selecting high-quality materials.
Tools and Materials Needed
Before starting your DIY wooden furniture project, gather these essential tools and materials:
Tools:
- Circular saw or table saw
- Power drill with bits
- Measuring tape
- Carpenter’s square
- Sandpaper or electric sander
- Wood clamps
- Level
- Paintbrush or foam roller (for finishing)
- Wood filler (to fill gaps or imperfections)
Materials:
- Wood planks (Pine, plywood, or MDF are great choices)
- Wood screws or nails
- Wood glue for extra stability
- Wood stain, paint, or sealant (optional for finishing)
- Brackets or L-braces (for additional support)
- Back panel (optional) – Plywood for added stability
Step-by-Step Guide to Building a Simple Bookshelf

1. Planning Your Bookshelf Design
Before cutting any wood, decide on the size and style of your bookshelf. Consider:
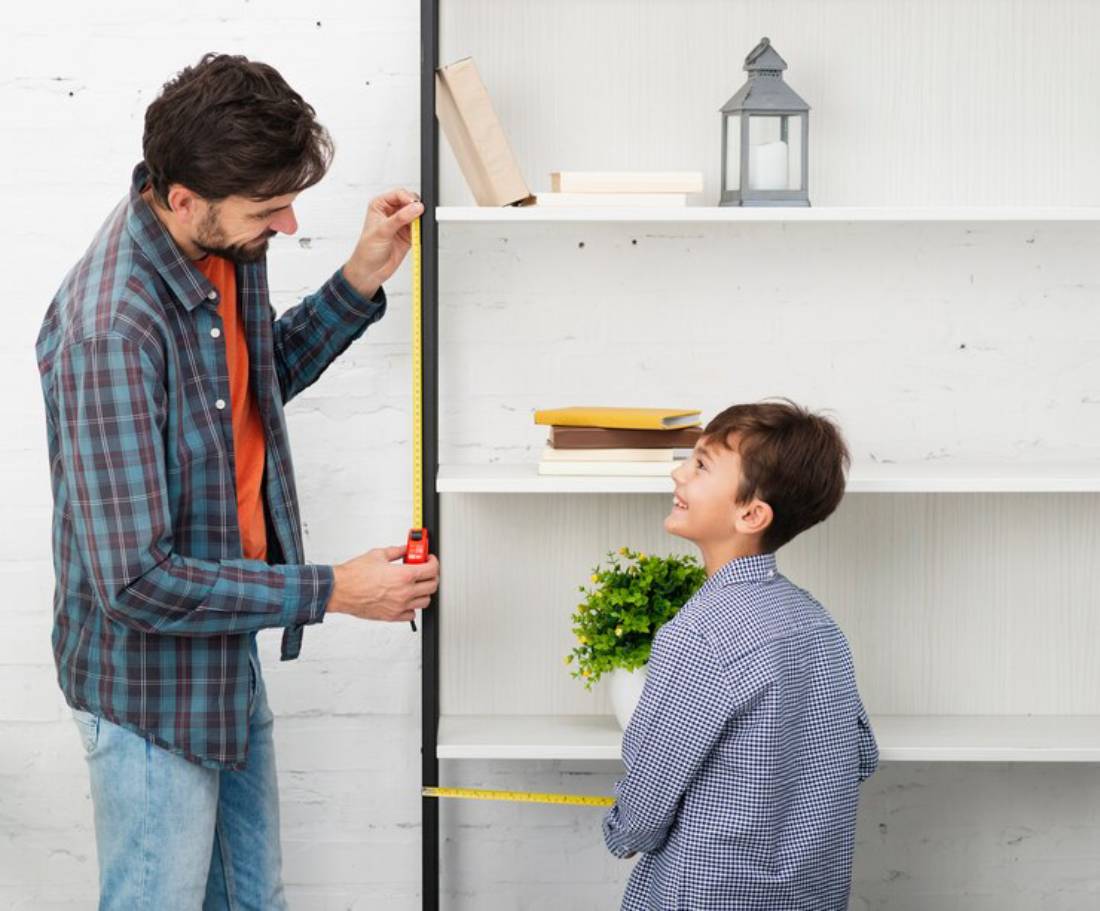
- Height and width – Measure the space where you plan to place the bookshelf.
- Number of shelves – Determine how many shelves you need based on book sizes.
- Depth – Standard bookshelves are 10-12 inches deep.
- Finish – Will you stain the wood for a rustic look or paint it for a modern feel?
- Load Capacity – If you plan to store heavy books, reinforce the shelves with additional support.
2. Cutting the Wood
Once you have your design, use a circular saw or table saw to cut the following pieces:
- Two side panels – The full height of your bookshelf.
- Top and bottom panels – The width of your bookshelf.
- Shelf panels – Cut as many as needed for your design.
- Back panel (optional) – A thin plywood sheet for extra support.
Make sure to measure twice and cut once to ensure precision.
3. Sanding the Wood
- Use sandpaper (120-220 grit) to smooth all edges and surfaces.
- Focus on sharp edges to prevent splinters.
- If painting or staining, wipe away any dust before applying finishes.
- Pay extra attention to corners and exposed edges for a professional finish.
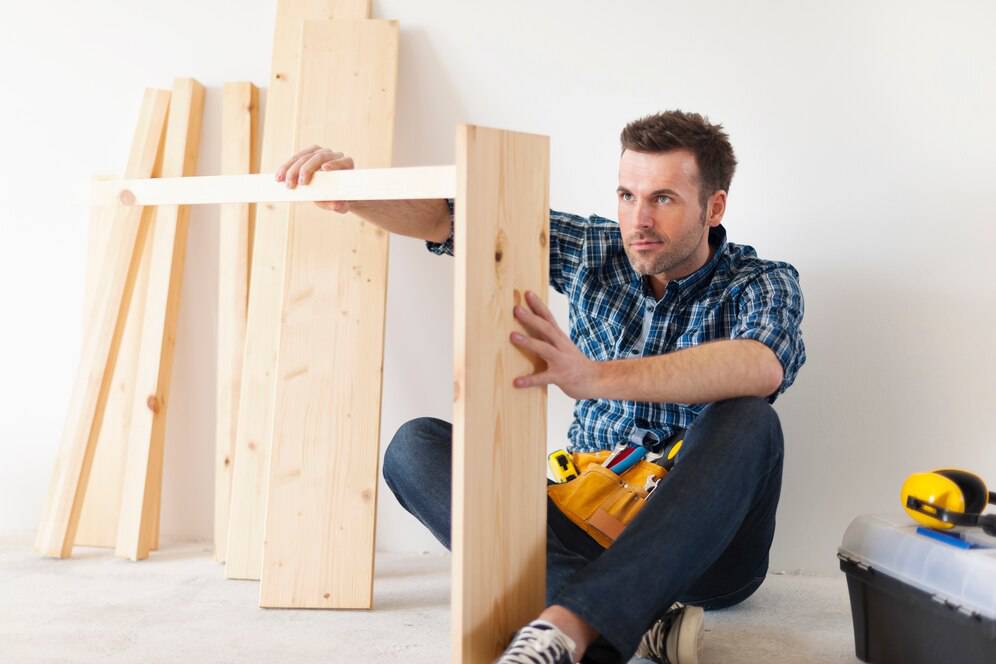
4. Assembling the Bookshelf Frame
- Attach the top and bottom panels to the side panels using wood screws and glue.
- Use clamps to hold pieces in place while drilling pilot holes to prevent wood from splitting.
- Ensure everything is square using a carpenter’s square before tightening screws.
- Let the frame sit for at least an hour to allow the glue to bond securely.
5. Installing the Shelves
- Mark shelf placements evenly along the side panels.
- Use wood glue and screws to secure shelves in place.
- For adjustable shelves, drill evenly spaced holes along the sides and use shelf pins.
- Check the level of each shelf to ensure even placement before securing.
6. Attaching the Back Panel (Optional)
For added stability, attach a plywood back panel:
- Cut a thin plywood sheet to the size of your bookshelf.
- Nail or screw it onto the back.
- Ensure it aligns properly with the frame.
- A back panel can also enhance the aesthetic appeal of your bookshelf.
7. Finishing Touches
- Fill any gaps or holes with wood filler.
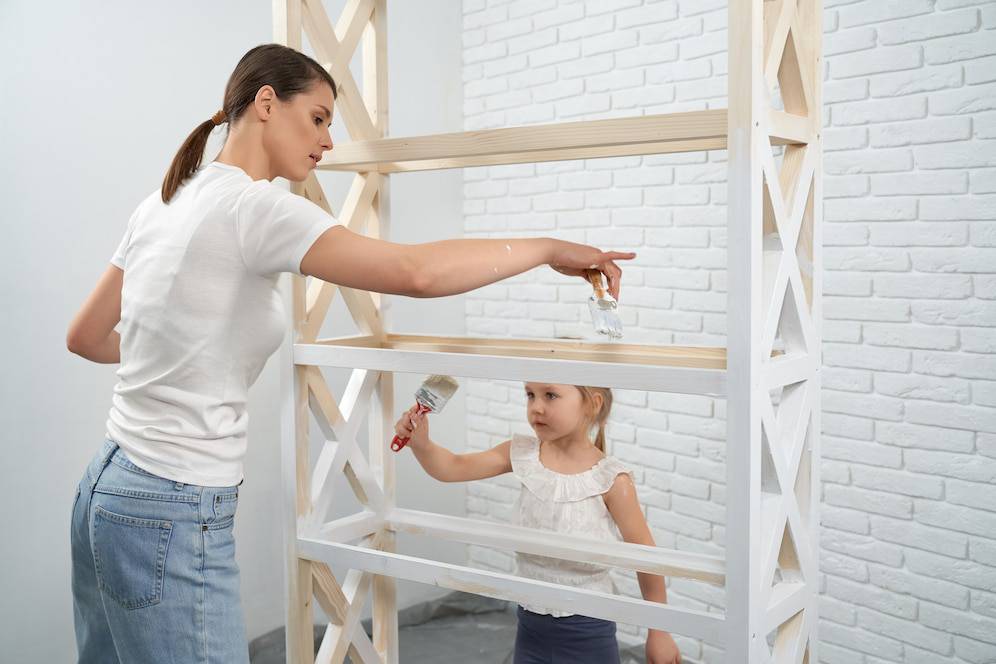
- Apply stain or paint evenly and allow it to dry.
- Seal with a protective topcoat for durability.
- Attach brackets or L-braces for extra support if necessary.
- Install felt pads on the bottom if placing on hardwood floors to prevent scratches.
Styling and Using Your Handmade Bookshelf

Once your bookshelf is built, get creative with styling:
- Organise books by colour or genre for a visually pleasing effect.
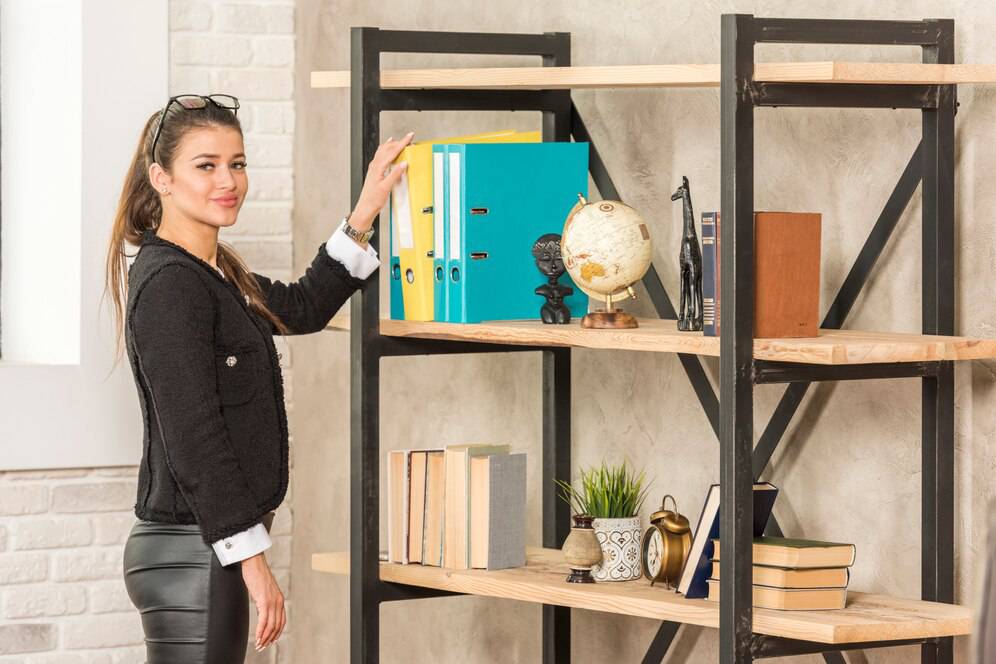
- Add decorative elements like plants, photo frames, or small sculptures.
- Use baskets or storage boxes on lower shelves for hidden storage.
- Install LED strip lighting to highlight your bookshelf display.
- Mix vertical and horizontal stacks of books for variety.
- Use bookends to keep books upright and add character.
Common Mistakes and How to Avoid Them
- Not measuring properly – Always double-check dimensions before cutting.
- Skipping the sanding process – Rough edges can ruin the final look and feel.
- Over-tightening screws – This can crack the wood.
- Ignoring leveling – Ensure shelves are even before securing them.
- Using low-quality materials – Choose solid wood or sturdy plywood for longevity.
- Not allowing glue to dry – Rushing assembly can compromise stability.
Expanding Your Carpentry Skills
Once you complete this beginner carpentry project, try more advanced DIY wooden furniture builds:
- Coffee tables – A simple yet functional project.
- Bedside tables – Compact and great for practice.
- Storage cabinets – Incorporate drawers and doors.
- Custom desks – Perfect for home offices or study spaces.
- Floating shelves – A stylish way to add storage to walls.
- TV stands – A step up in complexity but highly rewarding.
Craft Your Own Masterpiece
Building handmade bookshelves is a fantastic introduction to DIY wooden furniture and an excellent beginner carpentry project. With basic tools, patience, and a little creativity, you can create a stylish and functional bookshelf that fits perfectly in your space.
Whether you’re looking to improve your woodworking skills, save money, or add a personal touch to your home, this bookshelf project is the perfect start. Plus, as you gain confidence, you can tackle even more ambitious furniture builds. Ready to build more? Subscribe to our newsletter for more DIY wooden furniture ideas and expert tips!