Building a DIY Birdhouse: Step-by-Step Guide
Creating a handmade birdhouse is a rewarding and enjoyable project that adds charm to your garden while providing shelter for birds. Whether you’re passionate about woodworking for beginners or looking for a creative way to enhance your DIY garden decor, building a birdhouse is an excellent way to combine craftsmanship and nature.
Building your own birdhouse allows you to control the design, ensuring it is suitable for the birds in your area. It also provides a hands-on way to improve your woodworking skills while contributing to wildlife conservation. This guide will take you through every step, from selecting materials to installing the birdhouse in your garden.
Why Build Your Own Birdhouse?

Making a handmade birdhouse has several benefits:
- Encourages Wildlife – Attract birds to your garden, helping with natural pest control and pollination.
- Customisable Design – Personalise the size, shape, and colours to match your garden decor.
- Eco-Friendly – Use sustainable or repurposed wood for an environmentally friendly approach.
- Beginner-Friendly – A great woodworking for beginners’ project that improves basic carpentry skills.
- Fun Family Activity – Get kids involved in a hands-on craft that fosters creativity and learning.
- Protects Birds – Provides a safe nesting space away from predators and harsh weather.
Choosing the Right Materials
Before you start, gather the following materials:
Best Types of Wood:
- Cedar – Naturally weather-resistant and long-lasting.
- Pine – Lightweight and easy to work with but may require sealing.
- Plywood – Affordable, but ensure it is untreated and weatherproof.
Additional Supplies:
- Saw (hand saw or power saw) for cutting wood.
- Hammer and nails or screwdriver and screws for assembly.
- Wood glue for extra stability.
- Drill and drill bits for ventilation holes.
- Measuring tape and pencil for accurate cutting.
- Sandpaper to smooth edges and prevent splinters.
- Hinges (optional) for easy cleaning access.
- Non-toxic paint or wood stain to protect against weather damage.
- Sealant (bird-safe) to extend the life of the birdhouse.
Step-by-Step Guide to Building a DIY Birdhouse
1. Choosing the Right Design
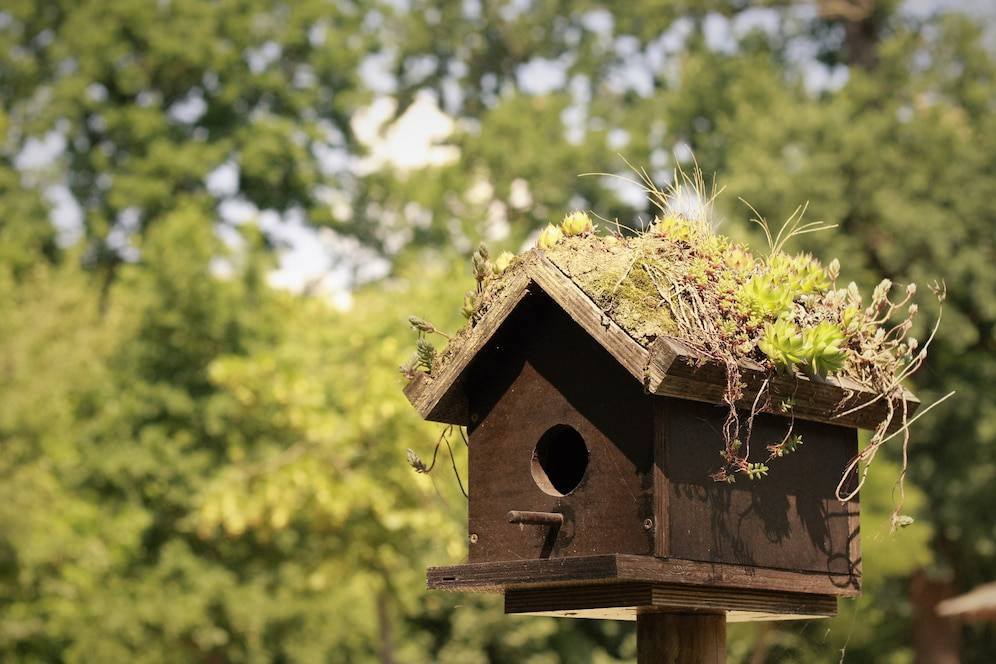
Birdhouses come in different designs, but for woodworking for beginners, a simple box-style birdhouse is the easiest to construct. The size of the entrance hole will determine which bird species can use it:
- 1 inch (2.5 cm) opening – Perfect for chickadees and wrens.
- 1.5 inches (3.8 cm) opening – Suitable for bluebirds.
- 2 inches (5 cm) opening – Ideal for larger birds like sparrows.
A sloped roof will help rainwater run off, and a slightly overhanging roof will provide shade and protection.
2. Measuring and Cutting the Wood Pieces
Use a measuring tape and pencil to mark the wood before cutting.
Standard Birdhouse Dimensions:
- Front panel – Includes the entrance hole (6×8 inches).
- Back panel – Same size as the front (6×8 inches).
- Side panels (2 pieces) – 5×8 inches each.
- Roof panels (2 pieces) – Slightly larger (7×7 inches each) to create an overhang.
- Bottom panel – 5×5 inches with small drainage holes.
Use sandpaper to smooth all edges before assembling.
3. Drilling the Entrance and Ventilation Holes
- Drill the entrance hole in the front panel according to the preferred bird species.
- Add ventilation holes near the top of the side panels to keep air circulating inside the birdhouse.
- Drill small drainage holes in the bottom panel to prevent water buildup.
- Ensure smooth edges around the entrance hole to prevent injuries to birds.
4. Assembling the Birdhouse
- Attach the sides to the back panel using screws or nails.
- Secure the front panel to the sides.
- Attach the bottom panel with screws or nails, ensuring the drainage holes remain open.
- Attach the roof panels – You can hinge one side for easy cleaning or nail both sides permanently.
- Reinforce with wood glue for added durability.
- Sand rough edges to ensure the safety of the birds.
5. Painting and Decorating
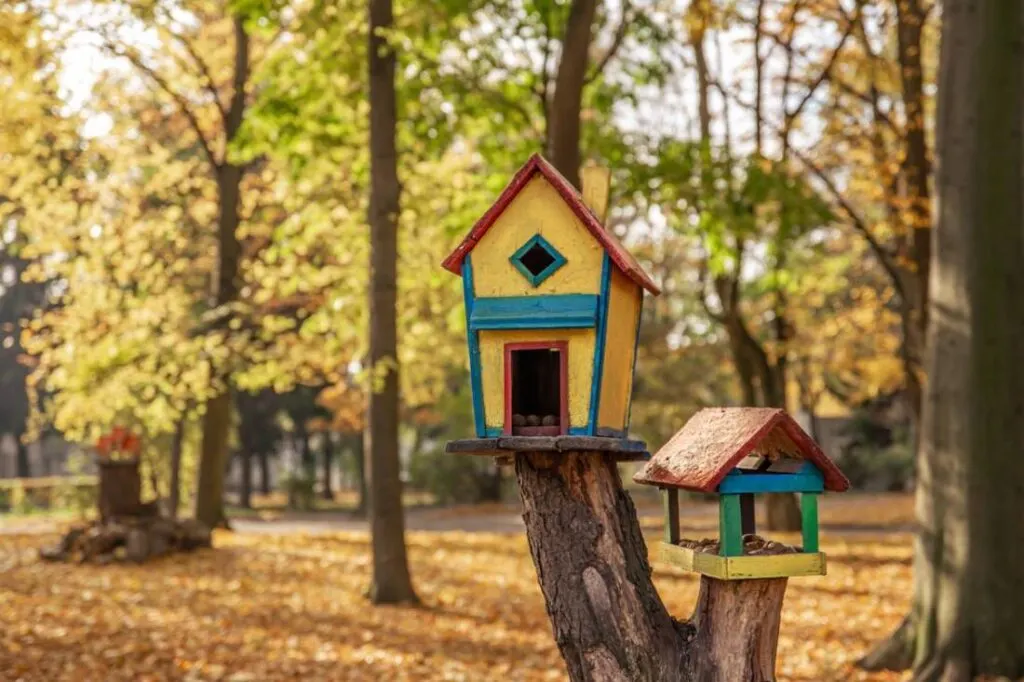
A well-finished birdhouse enhances DIY garden decor while protecting the wood from weather damage.
- Use bird-safe, non-toxic paint or wood stain.
- Avoid overly bright colours – Natural, earthy tones attract birds more easily.
- Decorate with stencils, floral patterns, or wood carvings for a personalised look.
- Apply a weatherproof sealant to ensure longevity.
6. Installing the Birdhouse
Where and how you place the birdhouse can determine its success:
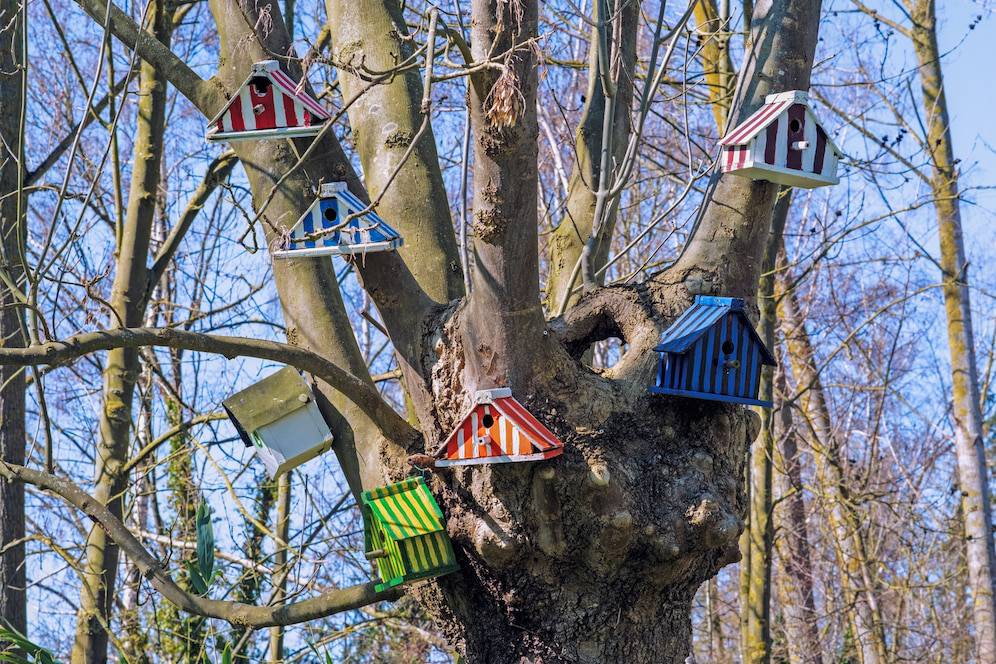
- Choose a safe location – Position it at least 5-10 feet above the ground to protect against predators.
- Face the entrance away from strong winds – A quiet, shaded spot is ideal.
- Mount securely on a pole, fence, or tree trunk to prevent wobbling.
- Ensure the birdhouse is stable – Avoid placing it where it can easily fall.
- Add nesting materials nearby – Provide twigs, dried grass, or wood shavings.
Additional DIY Garden Decor Ideas

Once your birdhouse is installed, consider these DIY garden decor ideas to complement it:
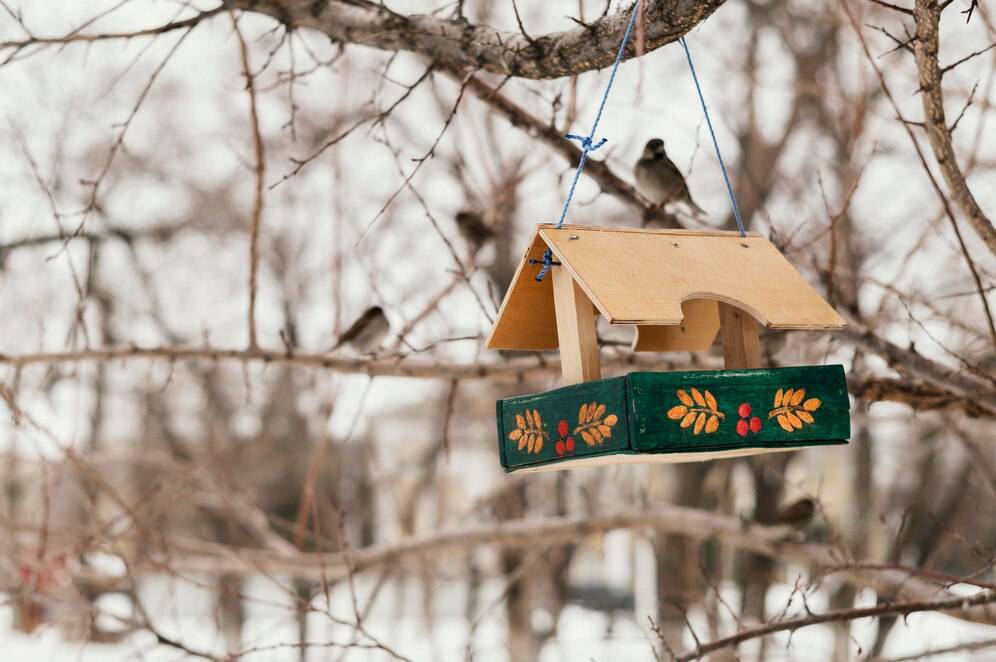
- Hanging bird feeders to attract more bird species.
- Upcycled garden planters using old wooden crates or teacups.
- Hand-painted stepping stones for a personalised garden path.
- Mini water fountains create a relaxing atmosphere for both birds and humans.
- Climbing plants and flowers to provide natural cover and beauty around the birdhouse.
Caring for Your Handmade Birdhouse

Regular maintenance ensures your handmade birdhouse remains safe and inviting:
- Clean it at the end of each breeding season – Remove old nests to prevent parasites.
- Check for damage – Repair loose nails, cracks, or warping.
- Reapply protective coatings yearly to maintain weather resistance.
- Keep the entrance hole clear – Avoid obstructions that might deter birds from nesting.
- Monitor bird activity – Keep track of the species using your birdhouse.
A Beginner’s Guide to Woodworking & Garden Decor
Building a handmade birdhouse is a fun and rewarding project that brings both craftsmanship and nature together. Whether you’re interested in woodworking for beginners or looking for a charming addition to your DIY garden decor, a birdhouse is an excellent way to attract birds and enhance your outdoor space.
By following this guide, you can create a beautiful and functional birdhouse that will provide shelter for birds while adding rustic charm to your garden. Start your project today and enjoy watching birds make your garden their home!
Looking for more outdoor DIY projects? Subscribe to our newsletter for more creative woodworking for beginners and DIY garden decor ideas!