The DIY & Crafts Blog
Mastering Wood Burning for Decorative Projects
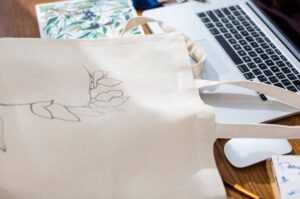
There’s something timeless and captivating about working with wood. From rustic signs to intricate designs, adding your personal touch transforms a plain piece of timber into a treasured work of art. Among the most mesmerising methods of enhancing wood is wood burning, also known as pyrography—the ancient craft of decorating wood using controlled heat.
In recent years, pyrography has gained popularity among artists, crafters, and DIY enthusiasts looking to add rustic charm and handmade beauty to their creations. As a form of DIY woodworking, it’s both accessible and deeply rewarding, offering a world of creative potential with just a few tools and a bit of practice.
In this article, you’ll discover everything you need to start your wood burning journey—from tools and techniques to project ideas and safety tips. Whether you’re crafting gifts, creating home decor, or simply exploring a new artistic medium, pyrography is a wonderful way to combine creativity with craftsmanship.
What Is Pyrography?
The word “pyrography” comes from the Greek words for “fire” and “writing”. It’s the process of using a heated tool to burn designs into a surface—most commonly wood, though leather, paper, and even gourds can also be used.
Unlike painting or staining, pyrography works by altering the surface of the wood itself. The depth, texture, and shade are achieved through controlled application of heat, allowing for remarkable detail and tonal variation.
Essential Tools for Wood Burning
1. Wood Burning Tool
The heart of any pyrography kit. Choose between:
- Basic soldering-style pens (great for beginners)
- Variable temperature burners (offer greater control and interchangeable tips)
2. Interchangeable Tips
Different tips allow for:
- Shading: Smooth transitions and gradient effects
- Fine lines: Ideal for lettering and intricate designs
- Stamps: Pre-shaped tips for repeating patterns (e.g., stars, hearts)
3. Safety Gear
- Heat-resistant gloves (optional but helpful)
- Ventilated workspace or small fan
- Respirator mask if working indoors for extended periods
4. Other Essentials
- Sandpaper (for smoothing the surface)
- Pencil and eraser (to sketch designs)
- Carbon paper (to transfer templates)
- Ruler, stencils, or templates (for uniform patterns)
Pro tip: Choose a high-quality tool with temperature control as your skills progress—it’ll offer cleaner lines and less fatigue during longer sessions.
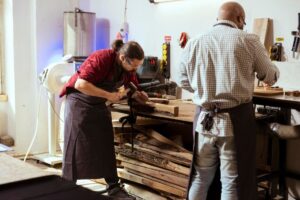
Choosing the Right Wood
The type of wood you use greatly affects your final result. Soft woods with fine, even grains are best for beginners because they burn more easily and evenly.
Recommended Woods:
- Basswood: Soft, light, and easy to burn
- Poplar: Affordable and beginner-friendly
- Birch: Smooth texture and excellent for detailed work
Woods to Avoid:
- Treated or painted wood: Releases toxic fumes when burned
- Resinous woods (e.g., pine): Can burn unevenly and cause tip buildup
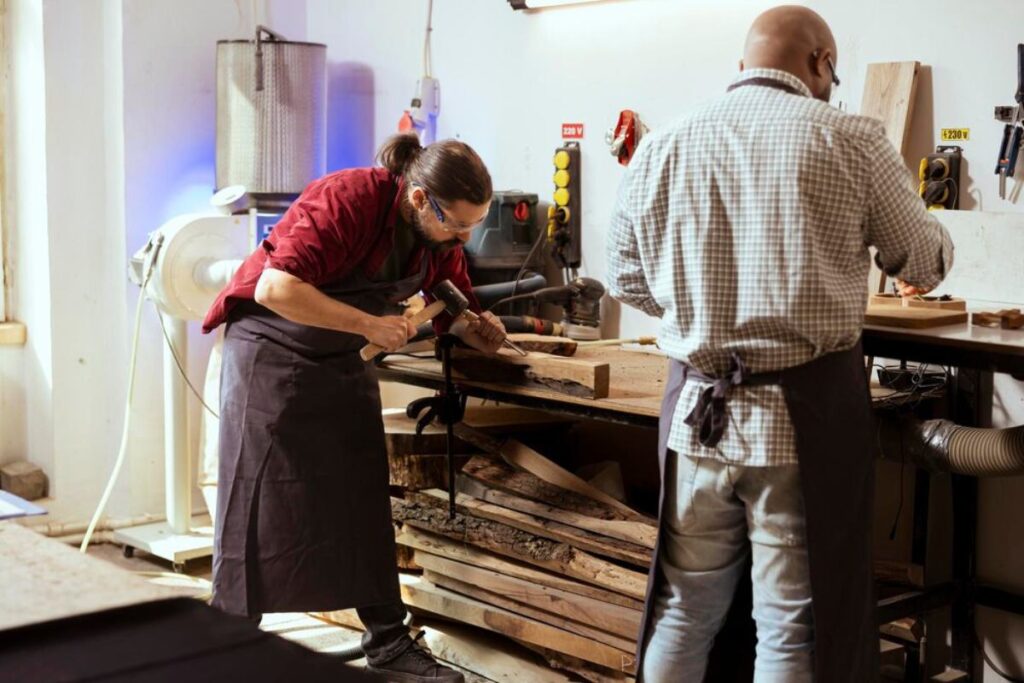
DIY woodworking tip: Always sand your surface before burning—it helps the pen glide smoothly and prevents blotching.
Techniques to Master Pyrography
1. Outlining
Start by sketching your design with pencil. Use a fine-point tip to trace the lines, applying steady pressure. Lift and pause as needed—rushing causes smudging.
2. Shading
Use a curved or spoon-shaped tip at a lower heat. Practice overlapping strokes and vary your pressure to achieve light-to-dark transitions.
3. Stippling
A series of small dots can create texture or depth. Ideal for fur, grass, or decorative effects.
4. Cross-Hatching
Burn lines in multiple directions to create tone and shadow—a technique borrowed from pen-and-ink drawing.
5. Lettering
Practice on scrap wood to develop steady, consistent strokes. Use stencils to maintain alignment if creating signage or labels.
Practice tip: Use scrap wood to experiment with tips, pressure, and temperatures before starting on your final project.
Inspiring DIY Woodworking Projects
1. Personalised Coasters
Burn names, initials, or geometric patterns into round wooden slices. Seal with food-safe varnish to protect them.
2. Custom Wall Art
Create inspirational quotes, floral motifs, or animal silhouettes on wood panels or repurposed pallet boards.
3. Name Signs
Design personalised nameplates for bedrooms, offices, or entryways. Great for gifts or craft fair items.
4. Recipe Boards
Transfer a handwritten recipe onto a chopping board for a sentimental keepsake. Perfect for family heirlooms.
5. Christmas Ornaments
Use wood slices to make rustic tree decorations. Add twine loops and a hint of paint or glitter for festive flair.
6. Garden Markers
Label herbs and vegetables in style with custom-burned wooden stakes or spoons.
Creative twist: Combine wood burning with painting or staining for mixed-media effects. Burn the outlines and add colour for a unique look.

Combining Wood Burning with Other Crafts
Pyrography + Painting:
Burn the design outline, then fill with watercolours or acrylics for a vibrant finish. Ideal for wall art and ornaments.
Pyrography + Carving:
Add depth by carving out portions of the wood before burning details on raised sections.
Pyrography + Epoxy Resin:
Burn your design into a wood slab, then seal with clear epoxy for a smooth, durable surface. Great for coasters and serving trays.
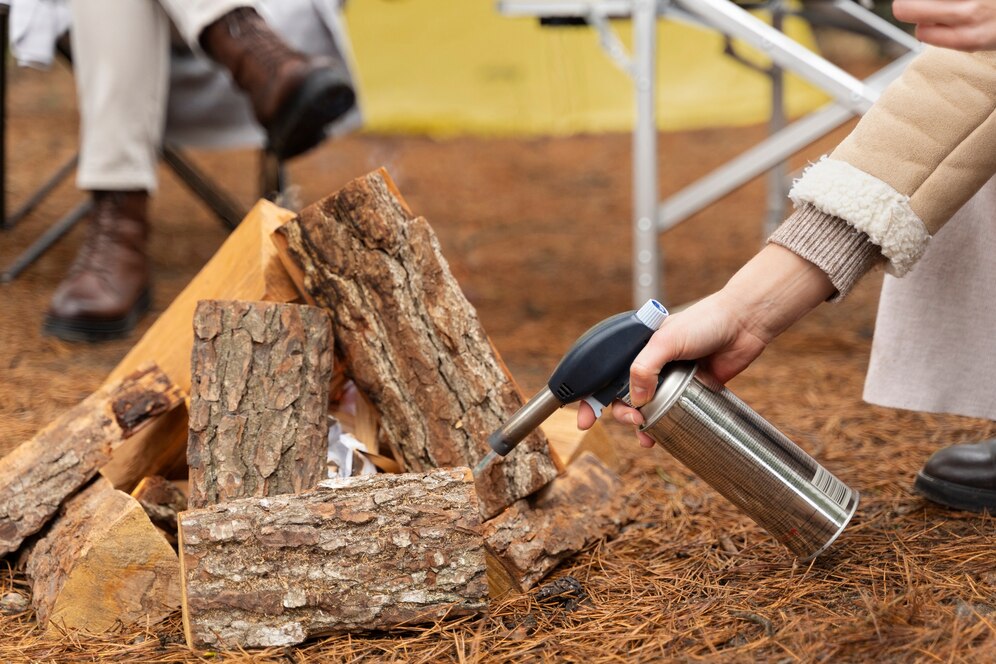
Safety First: Tips for a Safe Wood Burning Session
- Work in a well-ventilated area to avoid inhaling smoke or fumes.
- Never leave your tool unattended while hot.
- Allow the tool to cool on a heat-resistant surface.
- Avoid burning over adhesives, paints, or varnishes.
- Keep water or a fire extinguisher nearby when working with heat tools.
Note: Children should be supervised closely and only use cool-temperature pens designed specifically for youth use.
Troubleshooting Common Wood Burning Mistakes
Blotchy Burns:
Often caused by inconsistent pressure or un-sanded surfaces. Always prep wood and use even strokes.
Faint Lines:
Increase the temperature slightly or move more slowly to allow the tip to burn properly.
Smudging or Dragging:
Clean your tip regularly using fine sandpaper or a brass brush to remove residue.
Design Errors:
Use a fine-grit sandpaper to erase small mistakes. For larger errors, consider incorporating them into the design or painting over them.
Caring for Your Tools and Finished Projects
Tool Maintenance:
- Clean tips after each use to prolong tool life.
- Store in a cool, dry place.
- Replace worn-out tips with the correct size and shape for your burner.
Finishing Your Work:
- Use a clear wood finish or sealant (matte, satin, or gloss).
- For items exposed to food or weather, opt for food-safe or outdoor-grade sealants.
- Buff with fine steel wool after sealing for a smooth, professional feel.
Create with Fire and Imagination
Wood burning is more than just a craft—it’s an art form that blends precision, patience, and passion. With just a bit of practice, anyone can create stunning, hand-burned pieces that are both practical and deeply personal.
Whether you’re new to DIY woodworking or looking to expand your creative horizons, pyrography offers endless potential. From small gifts to statement wall art, there’s joy in every smoky swirl and burnished line.
Take action today: Pick up a wood burning kit, choose a simple design, and start with a scrap piece of wood. With every burn, you’ll get better—and before long, you’ll be crafting keepsakes to treasure and share.


YOU MAY LIKE